
Make Your Own Calendar
In our fast-paced lives, many people would like to have a desk calendar that is both functional and aesthetically pleasing to keep track of important schedules and plans. Although there are many ready-made calendars available on the market, making a simple calendar can not only add personalized decoration to your home or office environment, but also inspire creativity and enhance the sense of life rituals. In this article, we will take you into the world of calendar DIY, show you how to easily create a unique style of calendar, both easy to do and full of fun.

First, why do you want to get your hands on a simple desk calendar?
Making a desk calendar is not only to record the date, but also a way of self-expression and personality display. Through Make Your Own Calendar, you can design them according to your personal preferences, whether it is the choice of color, pattern or material, you can be completely free to match and create a unique style. For those who like to make things by hand, Make Your Own Calendar are a way to relax and enjoy the fun of creating. Make Your Own Calendar can also be used as a special gift for holidays or anniversaries, to give to friends and family to express their feelings.
The process of making an easy calendar is not complicated and the materials required are easily accessible, making it suitable for people of all ages to participate. You just need to spend some time and patience to complete a practical and beautiful work. It is not only a practical daily tool, but also allows you to feel a full sense of accomplishment in the process of using it.
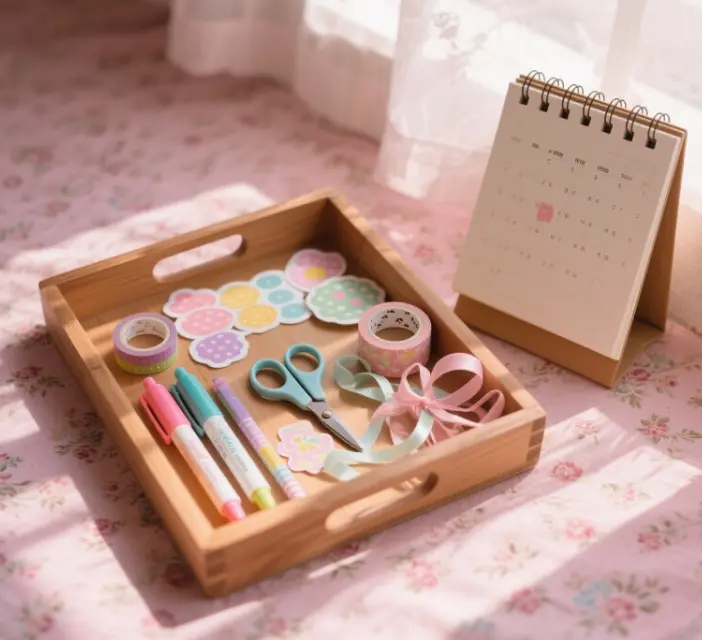
Second, Make Your Own Calendar desk calendar necessary tools and materials
Before you start making it, you should first prepare some basic tools and materials. The following is a list of common items needed for Make Your Own Calendar:
Paper: It is best to choose thicker cardboard or kraft paper so that the pages of the calendar will not be easily damaged and also have more texture. You can choose different colors or patterns of paper according to the style of the calendar.
Hole Punch: Used for punching holes to make it easier to turn the pages of the calendar. Choose the multi-function hole punch to make even holes on the pages.
Binder/Ring: Used to hold the calendar pages together for easy changing or adding new month pages.
Printer: if you want the dates, pictures and text on the calendar to be more elaborate, you can use a printer to print out the designed pages. You can also use markers to write by hand if you prefer a handwritten style.
Hobby knife and ruler: for cutting the paper so that the size of each page is neatly organized.
Decorative materials: according to personal preference, you can use stickers, sequins, ribbons and other decorations to make the calendar more personalized.
After preparing these materials, you can start to make the desk calendar. We will give you a detailed description of the exact steps to make a simple desk calendar with your hands.
Steps to making a Make Your Own Calenda, determining the size and style of the calendar
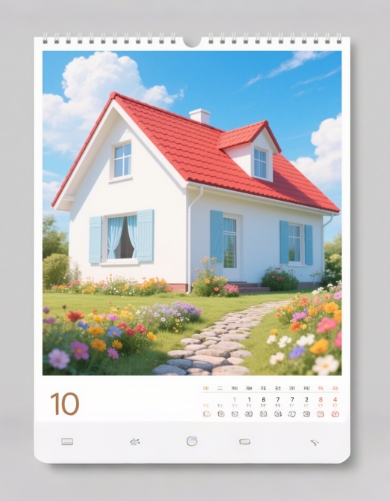
Before you start making it, you first need to determine the size and style of the desk calendar. Generally desktop calendars are categorized into desktop and wall-mounted styles, which you can choose according to your usage scenario. If you put it on your desk, it is recommended to choose a compact desktop calendar; if you hang it on the wall, you can make a slightly larger wall-mounted calendar. After the size is determined, you also have to decide the overall style of the calendar, whether it is simple and modern style, retro literary style, or fresh and lovely style, all depends on your personal preference.
Desk calendars usually have 12 months of pages, and each month can be designed with a theme. For example, you can choose a unique color or illustration for each month, or even add some holiday elements, such as snowflakes in January or Valentine’s Day hearts in February. If you know how to use design software, you can create the layout on your computer first, adding information such as dates and important holidays, and then print it out. If you prefer a hand-drawn style, it’s also a good idea to complete the design directly with handmade paper and pencil.

Take the printed paper and cut off the excess with a paper cutter.

Cut a strip (or piece) of cardstock with the same long edge as the calendar paper, make a row of equally spaced marks on the cardstock with a pencil, and then use a hole punch like the one on the right to make an even row of holes according to where the marks are.

Place this small piece of card as shown and use the hole punch to punch holes in the calendar paper. (You can use a clip to hold the card in place)

Cut two symmetrical pieces of gray cardboard (I used 1.5 mm thick, a little thicker can be), the size of the gray cardboard and the calendar paper in relation to the figure.

Cut a larger piece of paper (I used rice paper), place the four pieces of gray cardboard as shown in the picture, and use solid adhesive to glue the four pieces of gray cardboard to the outer packaging. Solid glue should be spread evenly, all over the place. When finished it is the stand for the calendar.

Follow the same method of punching holes in the calendar paper, and punch holes in the top of the completed stand.

Stack the perforated calendars on the stand in order.

Thread the wire loops. Note that it must be threaded this way (in this direction).

Once threaded, bring the ends of each loop together (pinching with your hands).

The last step is to add some decorative elements to the calendar. This step is entirely up to your creativity. You can use ribbons tied in knots as decorations, stick your favorite stickers on the margins of each page, or even add some personal photos or handwritten slogans to make the calendar more personal. If you like to get your hands dirty, you can also create a small base for the calendar so that it can stand firmly on the desktop.
Summary and Application Scenarios
With the above few simple steps, you can create a personalized and easy-to-use desk calendar. The fun of making your own calendar is not only the sense of accomplishment in the process of making it, but also a special sense of joy whenever you turn it over and see the pages you designed with your own hands. Whether you put it on your desk or hang it on the wall at home, such a calendar will add a lot of fun and color to your life.
Such do-it-yourself calendars can also be given as a special gift to friends or family members, and are especially suitable as heartfelt homemade gifts for the holidays or New Year. Whether it is to record work schedule or mark family activities, it can bring more convenience and creativity to life.
By making a simple desk calendar with your own hands, you not only get a practical tool, but also enjoy the fun and sense of accomplishment of DIY. Why don’t you give it a try this weekend and let the desk calendar add a touch of creativity and warmth to your life?
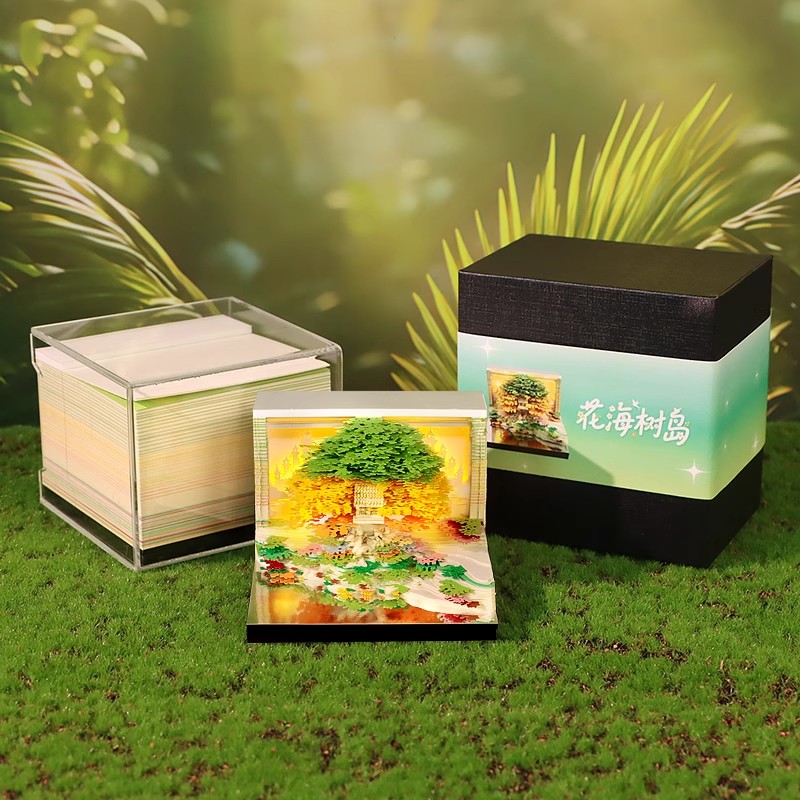 3D Treehouse Calendar|One page at a time, let time grow a tree!